

The days here in the north are growing shorted. By dinner time the outdoors are immersed in complete darkness, and when we wake in the morning the sun is still nowhere to be seen. And the days are growing shorter still.
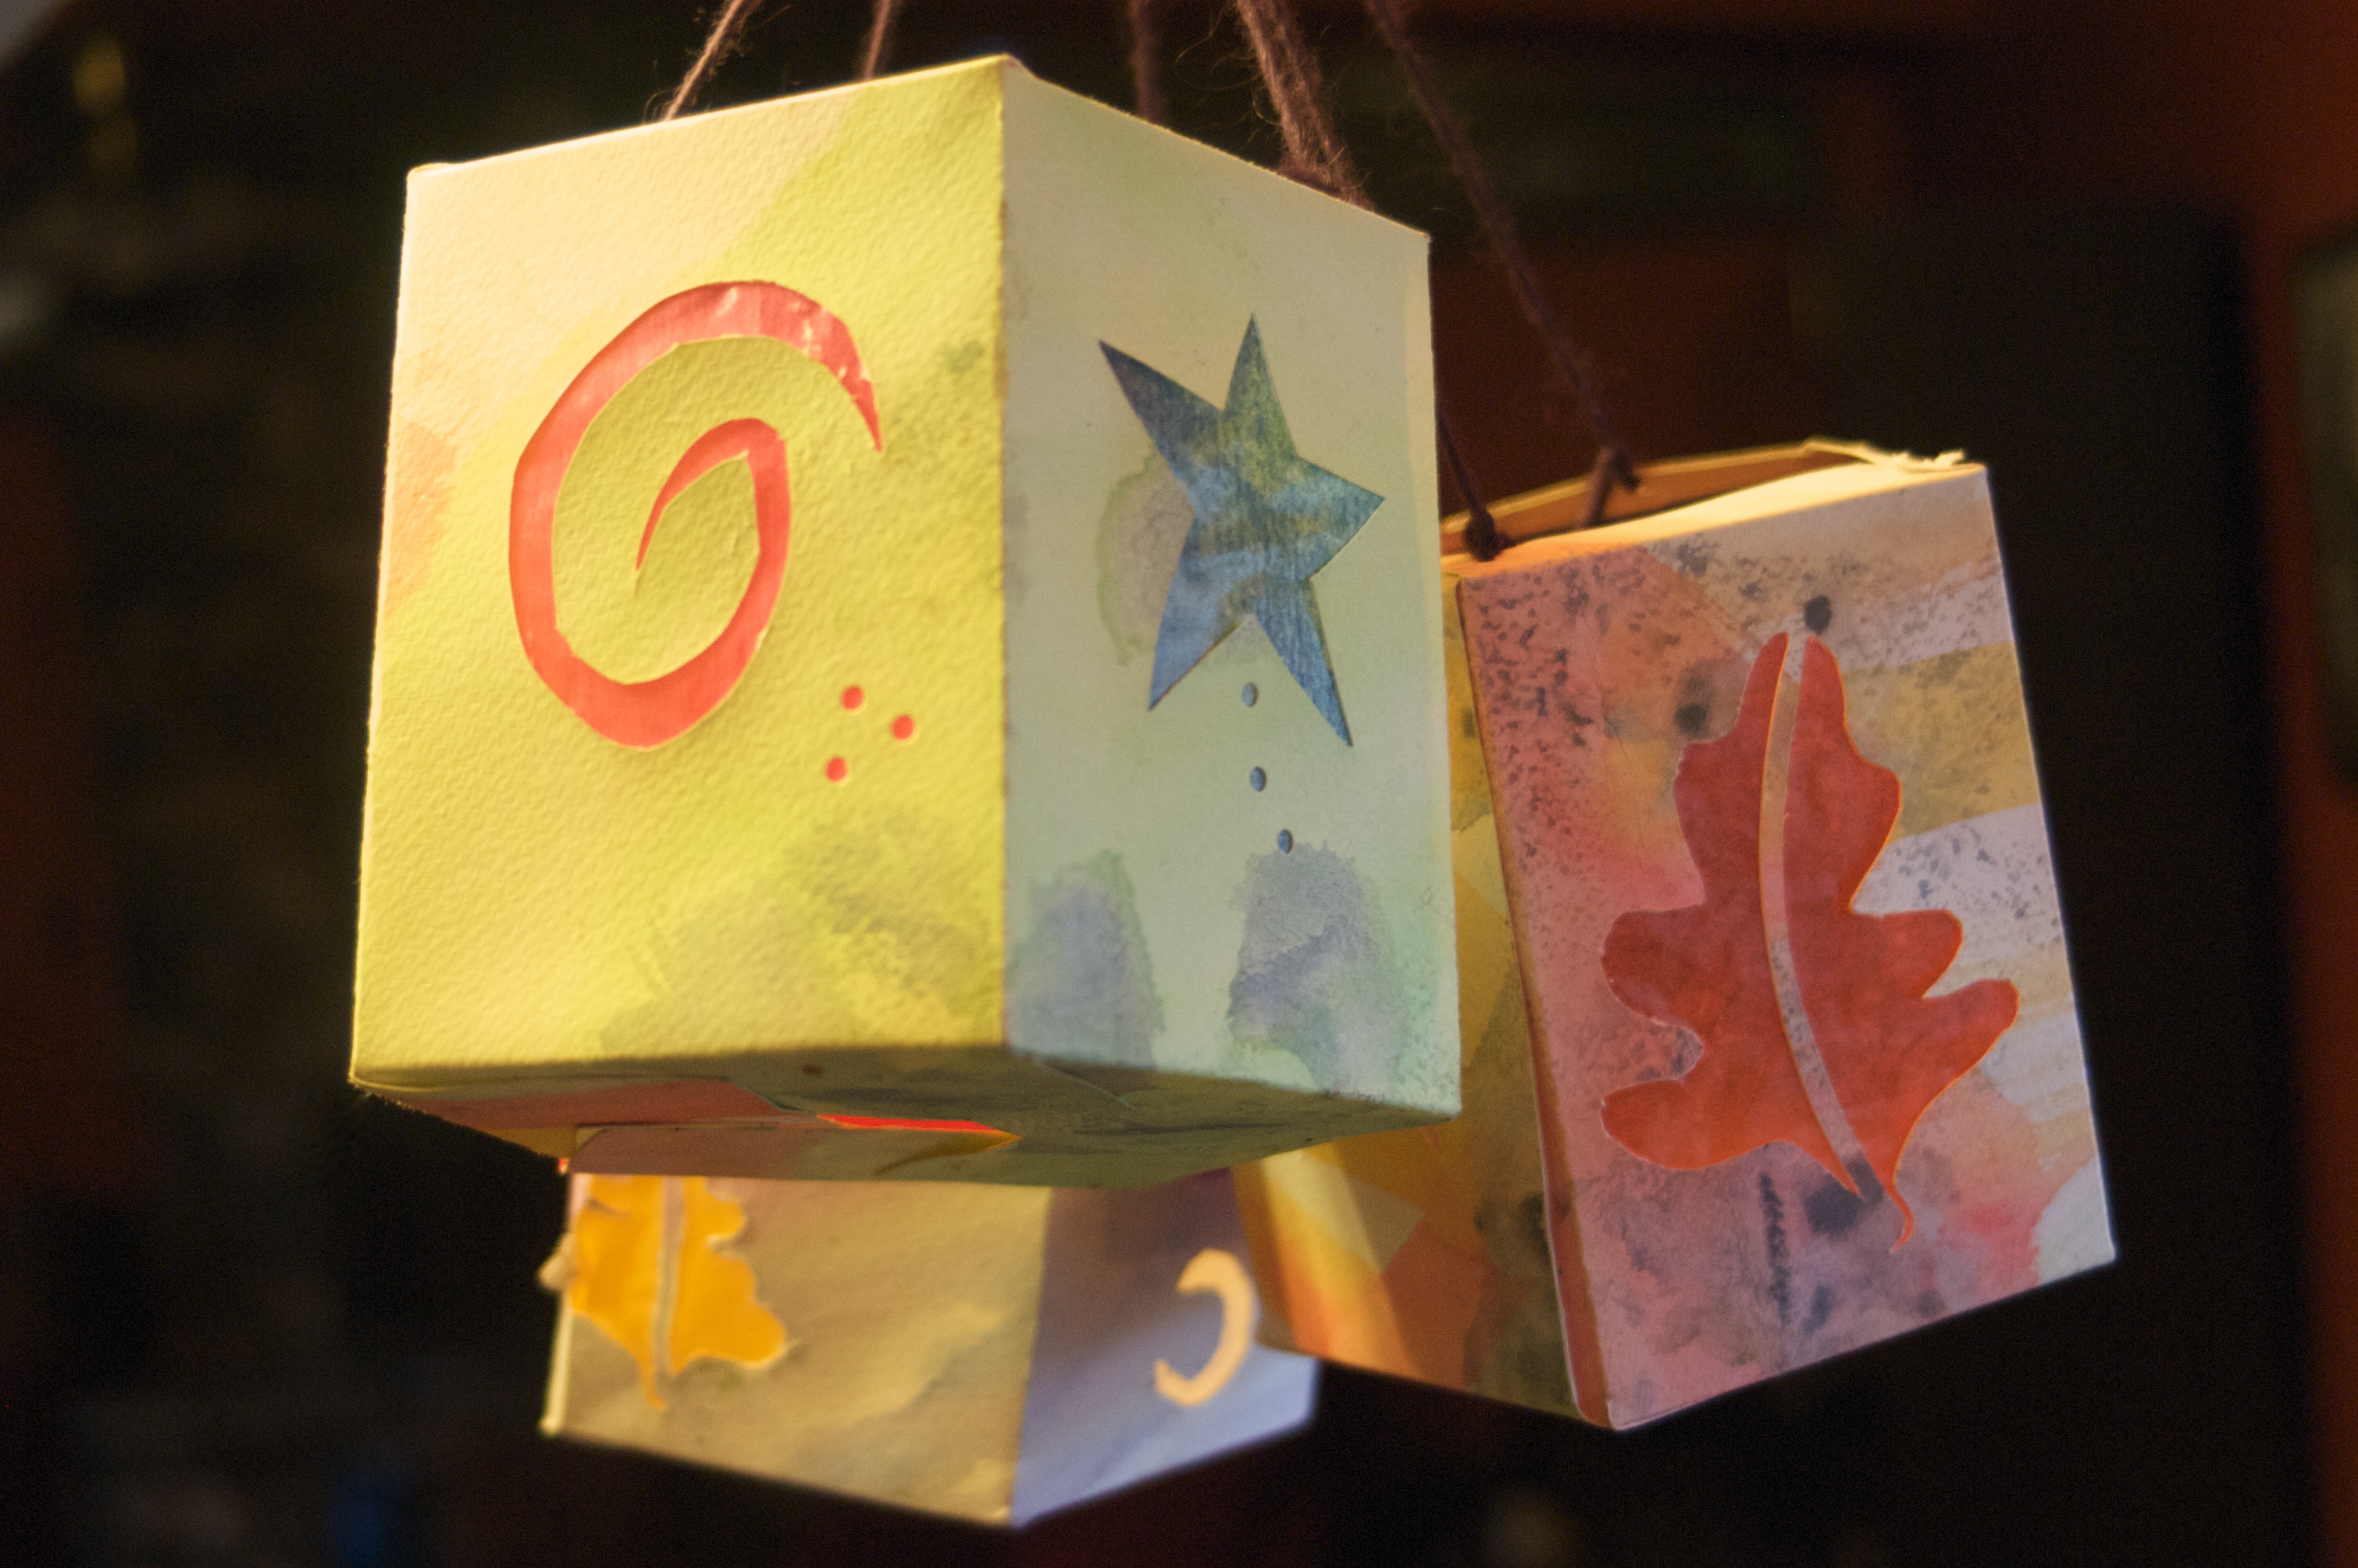
To celebrate the light that shines within each of us (even during these darkest days) the children and I made paper lanterns and carried them out into the darkness for a bedtime walk. The lanterns represent the brightness we bring to the dark, and the positive effect our bright spirits bring.

The process of making the lanterns is more simple than you might imagine. We loosely interpreted the pattern for Martinmas lanterns from this lovely book (another recommended read) as our jumping off point. I have shared our version of the lanterns below.
Supplies
Watercolor paints
Watercolor paper (ours is approximately 14" x 20", purchased here)
Ruler
Scissors
Pencil
Craft knife
Cutting mat or board
Kite or tissue paper
Glue stick
White glue
5 spring-type clothespins per lantern
Yarn or wire for handle
Hole punch (optional)
Fireproofing spray (optional)
Instructions
1. Create a simple watercolor painting. Allow to dry completely. (You will have enough paper for two lanterns from each piece of paper.)

2. On the back of your painting carefully mark the following measurements with pencil and a straight edge:
- Divide the painting in half with a horizontal line. To simplify, you may cut your paper into these two long thin strip now. (Our strips were 7 1/2" tall and almost 20" long)
- Parallel to your original cut mark two lines: one 1/2 inch down from the top and a second line 2" up from the bottom. These will form the top lip and the bottom of the lantern.
- Perpendicular to your original line, begin at the left and measure in 1". Mark line. This will be an overlapping piece used to form the lantern during the final steps of the project.
- From this 1" mark, measure five 3 1/2" panels and mark. These will be the five window panels.
- Cut off any excess after your last 3 1/2" panel.
3. Score all lines using a straight edge. (This will make folding your lantern easier.)

4. Cut tabs for the top and bottom of your lantern by cutting all lines above and below your two long horizontal lines. (Confused? See two photos below for a visual of where you cut.) These tabs will overlap and form the bottom and the top lip of the lantern when you glue the lantern together.
5. With a pencil, draw the shapes you desire for windows on the back of your paper strip. Think simple forms – circles, stars, even rectangular "windows".
6. Use a craft knife (X-acto type) to carefully cut out the windows.

7. Flip over your painting and admire your work! Add additional details if desired with hole punch or craft knife. I used a small circular hole punch to embellish ours.

8. Cut kite paper windows the size of your main panels. Glue into place with glue stick and smooth.

(Note: the next step requires a teeny bit of patience. At least it did for me. The lantern has a propensity to spring open while you are encouraging it to stay closed. Hang tight! You are almost done, and you are smarter than the glue.)
9. Fold your lantern carefully into shape, creasing each scored line firmly. Observe where the flaps overlap on the top, side, and bottom. Apply a thin layer of white glue on each overlapping point, then refold the lantern pressing the glued panels together. (These will be triangles of glue on one end of each flap.) Be consistent with the end you glue (all on the left, for example) so that you can neatly close one flap after another and end up with a firm secure bottom.
10. Use a clothespin at each overlapping point on the top of the lantern to hold the tabs together until the glue is set. Before the glue is all the way dry remove the clothespins. (This way you don't accidentally tear the lantern when you remove the clips).

10. Cover the hole in the bottom of your lantern with a scrap of watercolor paper approximately the size of the base of your lantern. Secure with more glue.
11. Punch two holes in the lantern's top rim and string through some wire or wool yarn. Knot yarn securely and add a tea light candle, securing to the bottom with poster putty (if you, like me, lack poster putty gum will work in a pinch, and adds a minty smell to the whole event.) (One thought: for those of you with young children or a concern of you little one holding a paper box with fire inside, battery powered tea lights are a good choice. I believe that the responsibility of holding a lantern with a candle inside is wonderful for a child, but perhaps that should wait until they are 4 or 5.
12. You are done! Now just wait for nightfall and take your lantern with you to spread a bit of light into the darkness.

