
Sometimes when our day is mellow I just pull out some craft books and start flipping through them, conspicuously, waiting for the kids to notice. I did this yesterday with a wool felt project book and within seconds I had a kid on each knee, excitedly planning their next craft project.
We came upon some wet felted pouches and boxes and my kids flipped. "Let's make some!" Since I try to approach homeschooling from a say-yes-as-often-as-possible perspective, we gathered our supplies right away and headed outside.
Wet felting is a great project for basements or backyards, because it tends to be messy in a soapy-water-everywhere sort of way. We each made a little box or bag yesterday in just under an hour out on the deck in the last of our summer sunshine. Perfect.

Before wet felting…

… and after.
Wet felting results in a smooth, hard fabric where you began with a soft cloud of wool. We love wet felting. With the help of an adult, even a toddler can participate in the process. Here is how we did it:


1. Gather your supplies: wool roving, 100% wool yarn, a bowl of hot water with a bit of soap mixed in, a bowl of ice water, some smooth stones or marbles, and bubble wrap or a washboard. (Disturbingly dirty fingernails are optional.)
2. Wrap marbles and stones with wool roving. Go for three to four thin layers. Tie with wool yarn and tuck each bundle into a small cotton sock or a bandanna tied with yarn.
3. Dip your bundle into the hot water (as hot as little hands can stand to be in). Squeeze. And squeeze. And squeeze. For 3 minutes or so. Re-dip in the hot water occasionally if the little hands are feeling bored and keep squeezing. (We made up some squeezing and water songs to make this process more enjoyable. They were pretty dorky, but they did the trick to keep Lupine on task.)
4. Dip into hot one more time, squeeze well, then dip into the cold. You will feel the wool begin to firm up a bit under the sock. Alternate hot and cold, squeezing well or rolling between hands for several minutes between each dip. The felting process is a result of both friction and the hot-cold contrast, so keep them both going.
5. Peek. Carefully peel back the sock. Is the wool beginning to tighten up around the stone? Great! You can leave the sock in place or remove it now. It is up to you. If your wool is still very loose, leave the sock in place and repeat process above for five more minutes.


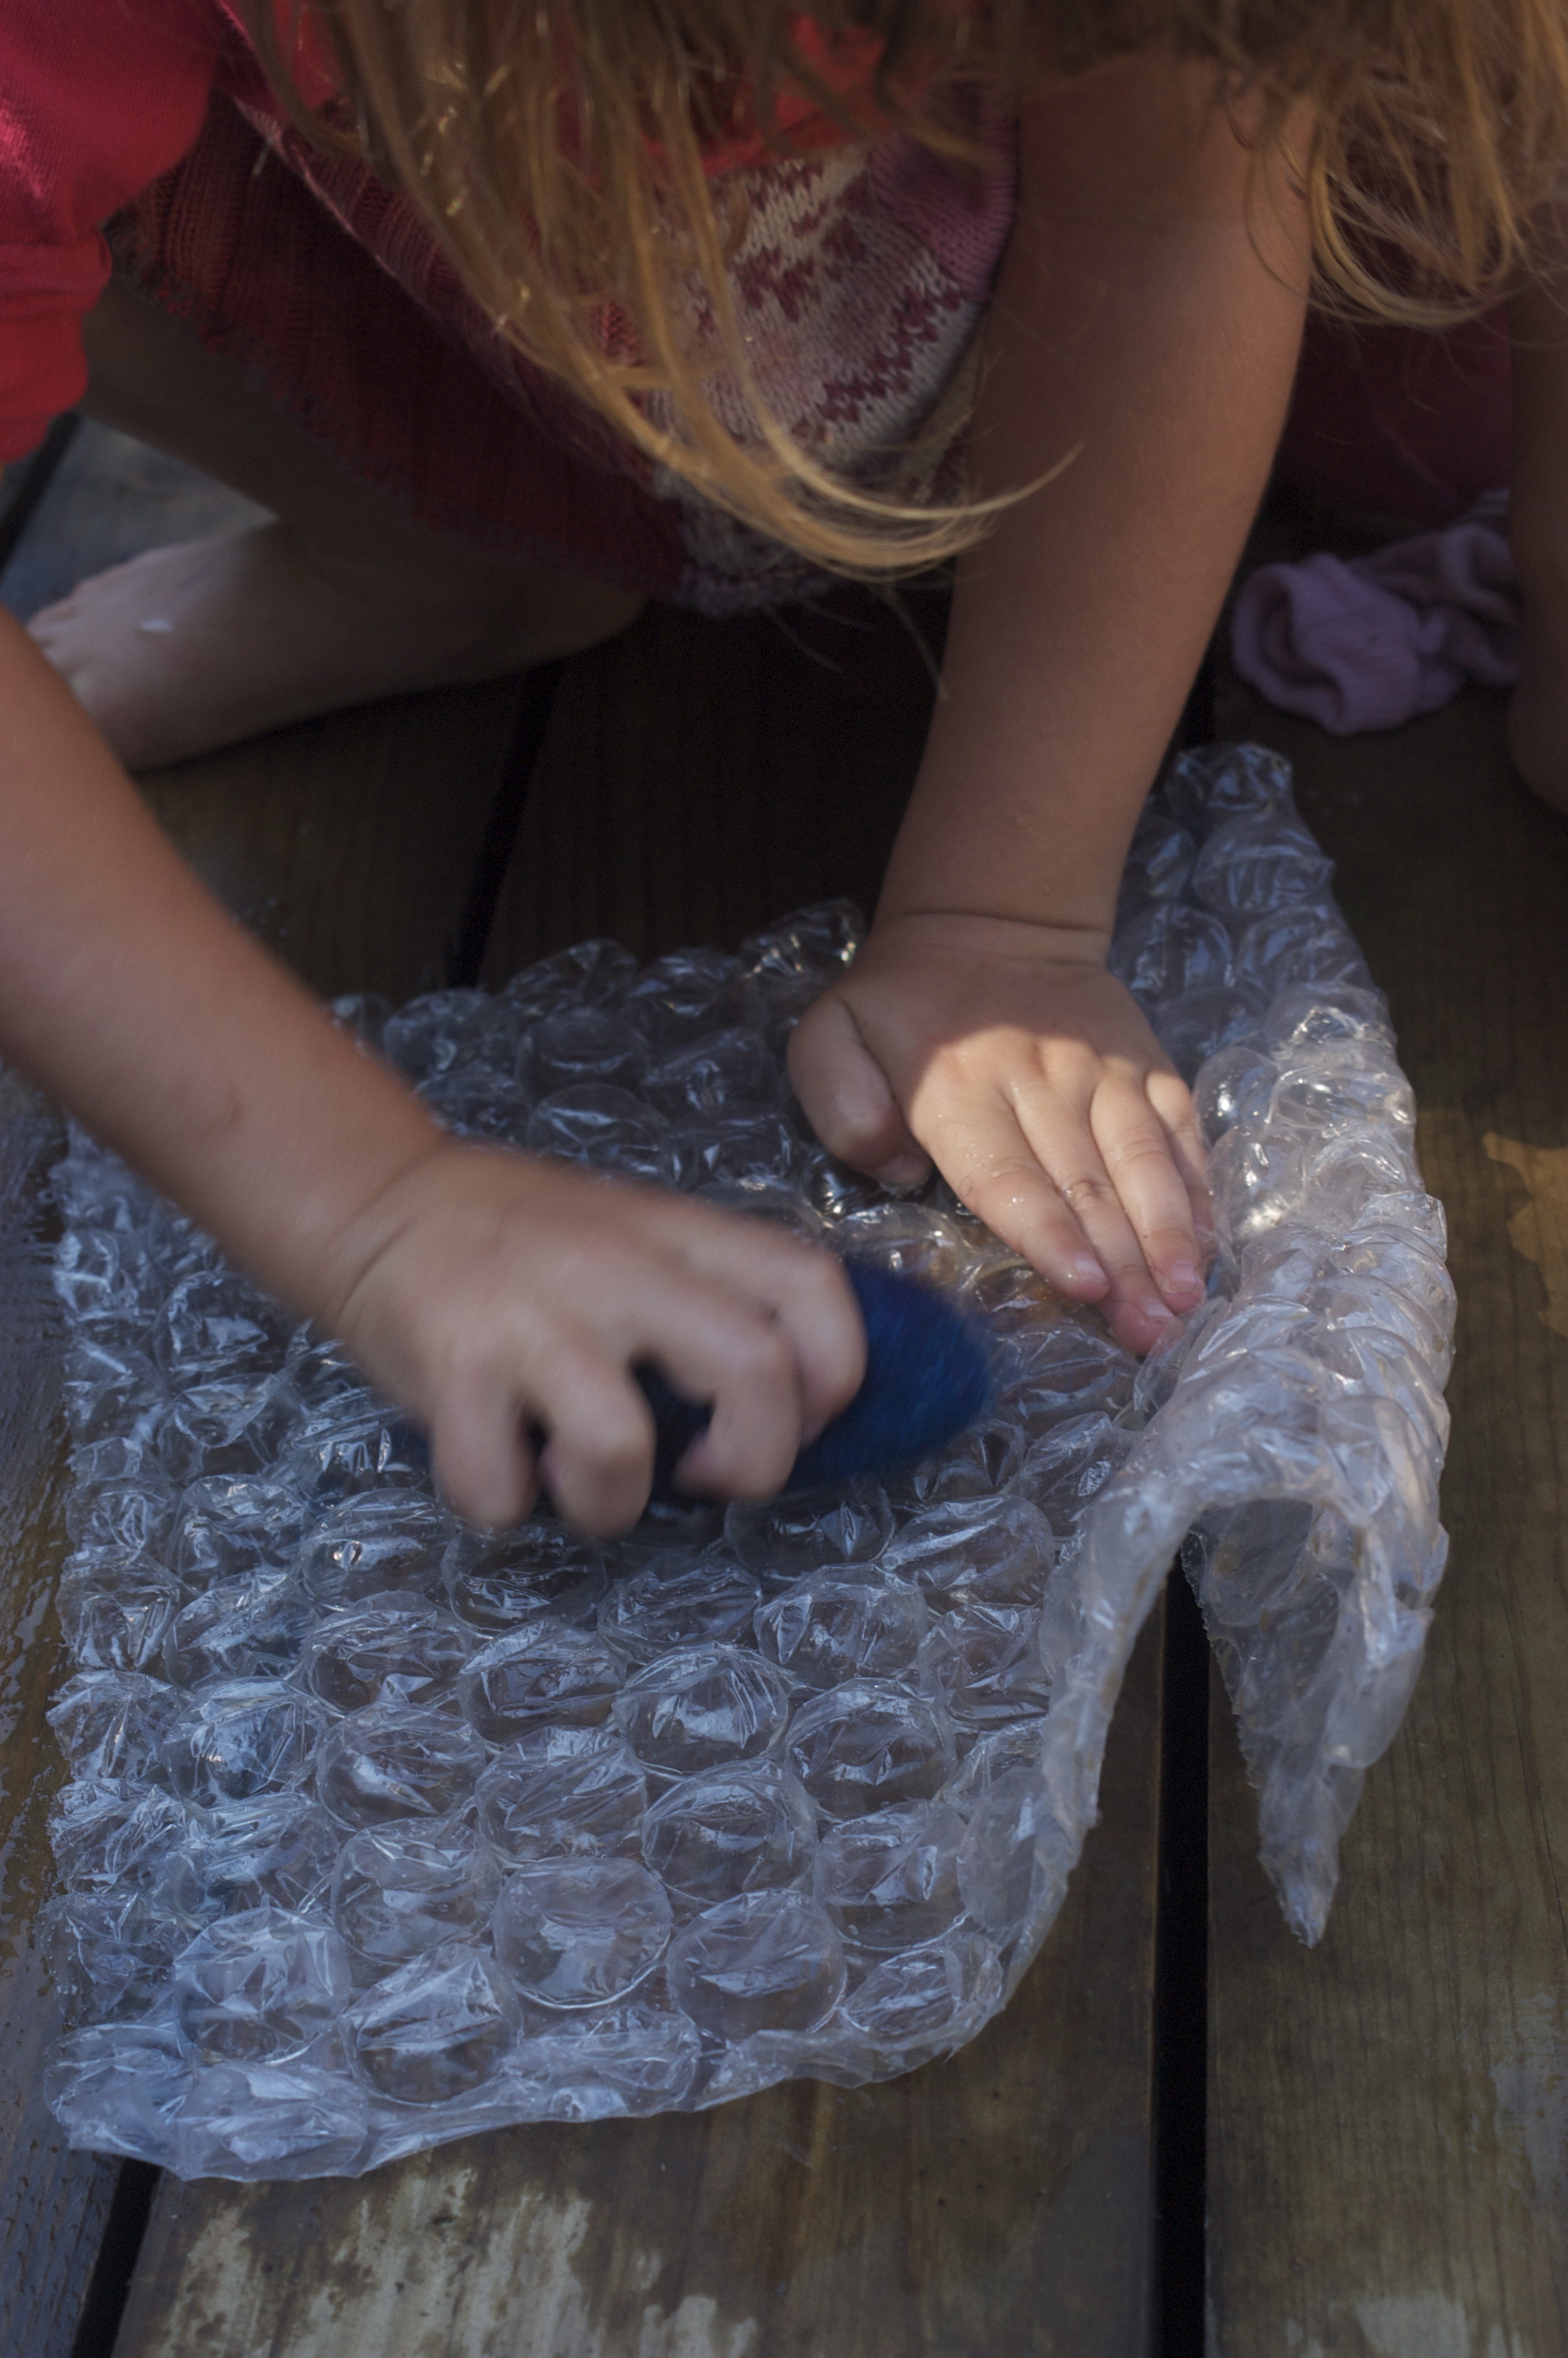
6. Begin rubbing your wool on the bubble wrap or washboard (with our without the sock). The more you rub, the more it felts! This is the moment you'll begin to realize that yes, it really is working! Keep alternating hot and cold water, but now rubbing vigorously on the bubble wrap. You can also roll your wool up in the bubble wrap and roll it around on the table or ground.


7. When the wool feels firm and hard around the stone the felting is complete! Allow to dry completely (if your kids possess remarkable patience), or if you prefer (and like me lack any patience beyond that required to wet felt) open right away.
8. To open, use a utility knife or razor blade. Carefully slice open the vessel where you want the opening to be. Remove stone and allow to dry. Now you can add a string (to make a necklace) or a button and loop for a closing box, or tuck a wee felt baby into her little bed.
Beautiful!

so fun! i’ll have to do this with my girls. i have a feeling i’ll enjoy it more than they will! i might even dye some of my wool with koolaid with them beforehand.
Let me know how it goes! xo
Great idea! I will have to try this soon. I just got a dry felting kit, but this looks a lot easier and my 3 year old can totally do this! Thanks!
I love wet felting dryer balls and felting around a bar of LuSa soap in the same way. Very relaxing activity.
Do you use your LuSa soap? I’ve always seen it done with dish detergent and I’d like to be able to use something milder (due to skin sensitivities).
Yes we did! I just lathered the bar in my hands into the hot water.
Rachel