Sharing the Sweetness.

Going sugar-free made me wonder about the jam in our pantry. What did I sweeten with last year? Was it all from this honey/stevia batch or did some sugar-sweetened jam from earlier in the season sneak in? Really, I have no idea. I think it is all honey but if I'm wrong I will derail our progress with the GAPS diet.

So I stood staring at 11 jars of luscious local jam, wondering.

And then I hatched a plan.

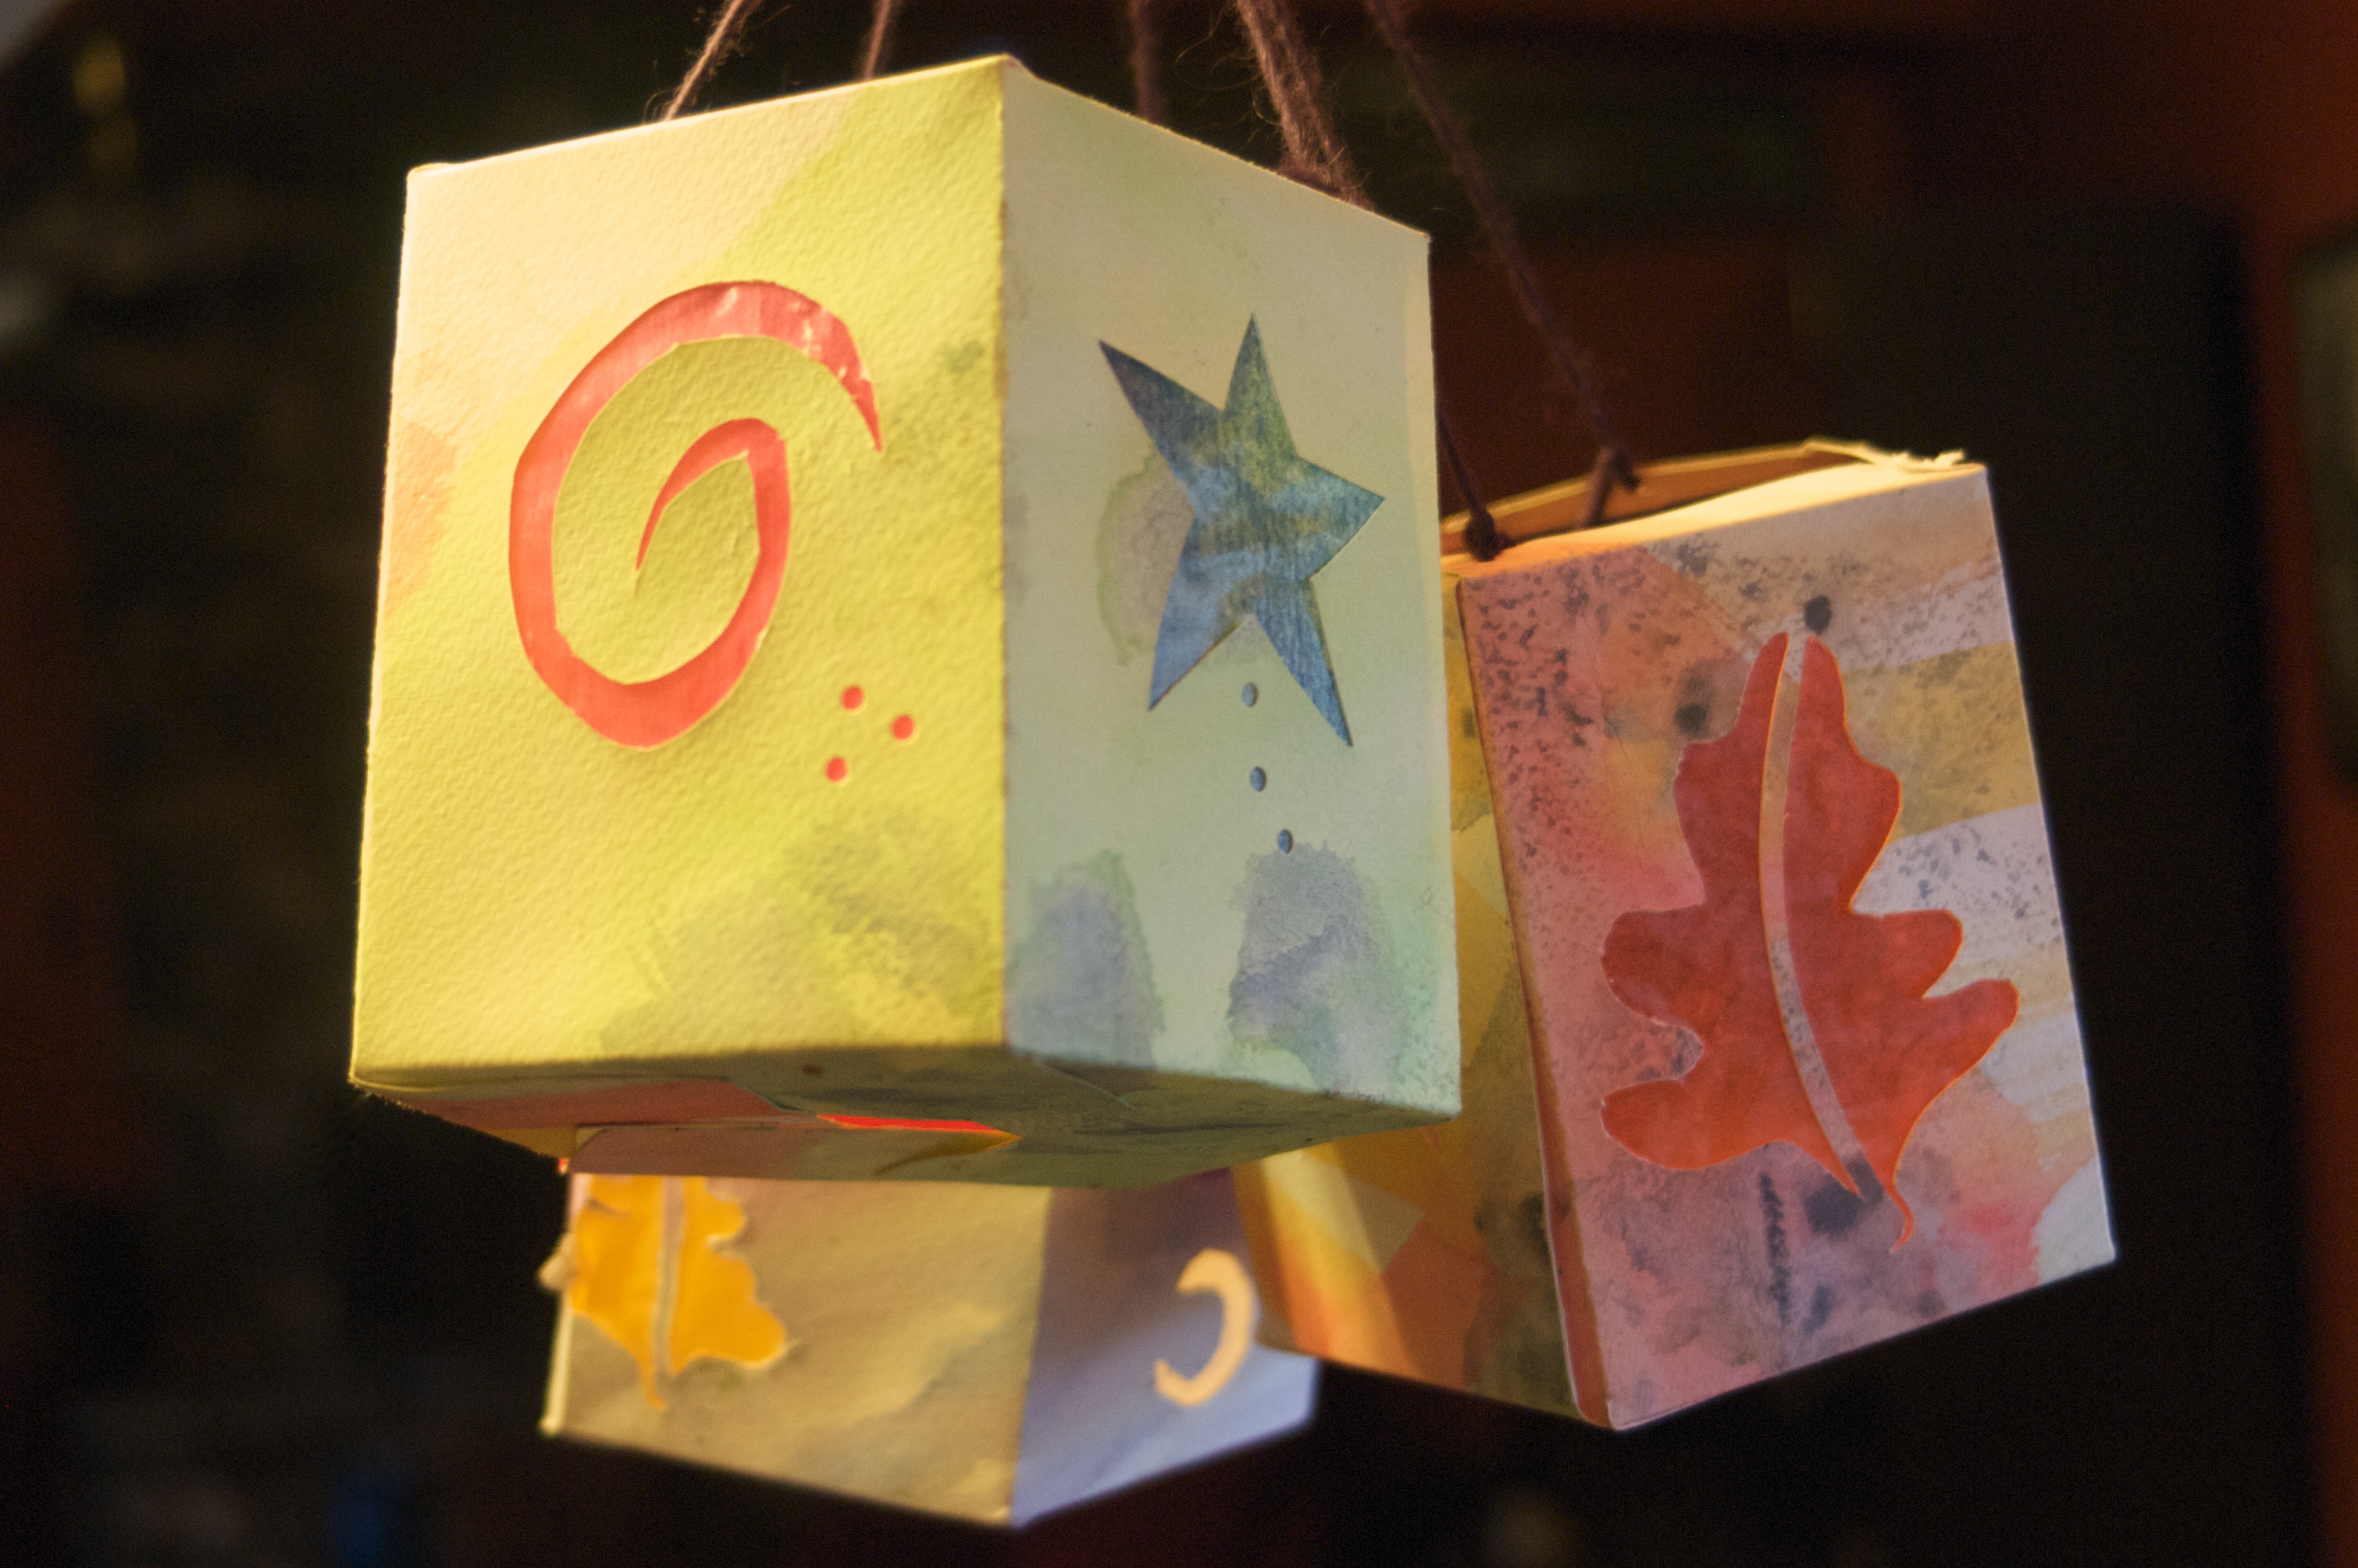
On Valentine's Day morning, Lupine and I gathered all of our pantry jam (as for the massive stash of freezer jam… we'll figure that out later). Then we gathered our decoupage supplies for lantern making. Double Valentines, anyone? A candle lantern valentine that arrives cleverly disguised as a jar of homemade strawberry jam.

DSC_1057

After a morning busy with scissors and Mod Podge (and the kitchen "decorated" with bits of kite paper and gooey paint brushes) we ended up with almost a dozen Valentines ready to give – to kids friends, grown-up friends, and neighbors. And we got the double bonus of an excuse to craft with cleaning out our jam stash.

DSC_1123

DSC_1128

DSC_1132

We filled a bag with jars and headed out through the neighborhood, visiting friends with gifts along the way. It was a wonderful way for Lupine to enjoy the pleasure of giving and the "sweetness" of creating.

When life gives you sugary jam, make Valentines!

Wooden Peg People (and Gluten-free, Sugar-free Treats).

Just a couple of weeks after embarking on the GAPS diet the kids were invited to two birthday parties. Not one. Two. Birthday parties were one of the only things I worried about with GAPS. My kids, hanging out with other kids and watching their friends eat cake and ice cream. Seemed like it would be less fun than, say, staying home and forgetting about the party all together. 

So we came up with our own solution. Today Lupine is off to one of her best friends' to celebrate her turning five. And we're bringing along our own snacks and treats – enough to share. We made a Key Lime Pie from the cookbook Internal Bliss, made with honey, fresh lime, coconut milk, macadamia nuts, and avocado (among other things). The flavor is unbelievable – creamy, rich, and tart.

We also made a batch of flax and sesame crackers to take along. Crispy and so delicious I had to cut off the kids so there would be some left to take to the party.

DSC_0992

DSC_0996

DSC_1005

The gift we put together is (in my opinion) super sweet too. Lupine selected five peg people from our wooden bits stash and dictated how they should be painted. "The mama dyed her hair pink, and her friend dyed her hair blue. And the big girl dyed hers pink, too. Oh, and they live on a boat."

So we found an old wooden boat in the garage, polished it up, and there you have it. Nothing says "Happy Fifth Birthday" quite like the punk rock boat people.

DSC_0978

DSC_0985

DSC_0989

A Quiet Holiday.

Our winter celebration was magical, meaningful, and quiet – literally. I lost my voice a couple of days before Solstice after catching Lulu's bug, leaving me miming and whispering my way through our most treasured holiday. I am normally the talker around here – especially with my children – so it was both frustrating and reflective to allow others to speak and keep silence for several days. In truth it was a blessings as the kids learned to solve their own dilemmas or ask Pete for help, and I learned to step aside and let the Papa take the lead time and again.

Yes, despite my silence our celebration went on. We filled the cookie plate with a few homemade treats, lit our candles and stoked the fire, and relaxed together until late into the evening. The children and Pete made gingerbread houses, and we exchanged a few meaningful gifts (I'll share these handmade treasures with you later in the week). After I went to bed Pete, Lupine, and Sage enjoyed a late hot-tub under the stars and by morning the Solstice Elves had left behind some special new blocks for the children.

DSC_9807

DSC_9718

DSC_9772

DSC_9922

DSC_9842

After Solstice we traveled to Milwaukee for Christmas Eve and Christmas morning with my parents. We're so blessed with my family and during Christmas in particular do I appreciate the love and respect we receive from them.

DSC_9894

DSC_9882

DSC_9893

DSC_9904

Today we and are home again – tidying, unpacking, resting, and enjoying the quiet of home. We are finding our way to wellness as we look ahead to the New Year. I hope your week was magical as well as we spiral back into the light and move ahead into a fresh new season.

Happy Solstice One and All!

DSC_9685

DSC_9430

DSC_9689

Winter Solstice is here! While we celebrate Christmas with my parents, Pete, the kids and I spend Solstice together as our most important family holiday.

So this morning the gifts are made and tucked beneath the tree while outside the snow is falling deep. My family and I will spend this shortest day of the year making candles and gingerbread houses, baking and eating treats, playing games, and sharing handmade gifts.

I am sending warmth, love, and light into each of your homes this magical day.

Holiday Blessings,
Rachel


Gift Wrap. (Because Another Project Seemed Like a Good Idea.)

Thanks for the well wishes all week long. I haven't been getting back to comments or emails in the past few days, so please accept this as a collective thank you. Sending some love right back atcha.

~ * ~ * ~ * ~ * ~

DSC_9536

DSC_9538

DSC_9543

Despite the coughing and cuddling and fevering going on over here, a few projects have amazingly found their way to completion. As of last night I have actual gifts to wrap. I am delirious. Lupine's big gift is finally done (!) as is Sage's. And they are cuter than I ever imagined. Just a few more loose ends and I'm home free.

Normally we wrap in playsilks that we dye in kool aide, but this year we are low on silks (having given them all away as gift wrap last year). So I needed a new plan. Inspired by Amanda's recent post on quick gift bags, I dug into my fabric stash and stitched up a few of these just before midnight. The bags pictured above were made from a thirfted vintage skirt, and I have a stash of vintage polka dots and other coordinating fabrics on hand to make a sweet collection of all sizes. I'm thinking one pattern per person (most years each child gets 3 or 4 small handmade or second hand gifts. I've strayed from that a teensy bit this year, but that's our m.o.)

You will also notice that the gifts are not under our tree, but on our bed. When Sage was little I realized that gifts under the tree for more than 10 minutes equated to some form of medieval torture to him, so we've always kept them stashed until Solstice eve. Just this morning he suggested that we "wrap fake presents" and put them under the tree. "They'll look nice and I won't be tempted to open them!"

Um, no.

So back into the closet they go (his anyway) until next week.

Slowing Down (and Making Pomanders).

DSC_9509

DSC_9504

As I type this post I have a four-year-old nestled in my lap, her head tucked beneath my chin. All through the day and night she wants mama snuggles full-time. Works for me. And since I am running a home-based business I can usually roll with it and take a few business calls or send a couple of emails between books with this coughing/snuggling sweetie in my arms.

Now she's zipped into my sweater and there is an almost constant, "Are you almost done?" emanating from inside my shirt. So I'll be brief.

We've been on the couch with the mountain of books all day long, going on day three. Yes, it's cutting into my craft time. Which sometimes makes me crazy and somestimes doesn't. Maybe it's a message to slow down and toss that holiday to do list. So I have. It'll all get done or it won't, but I'll never regret spending a week on the couch snuggling this girl. Never.

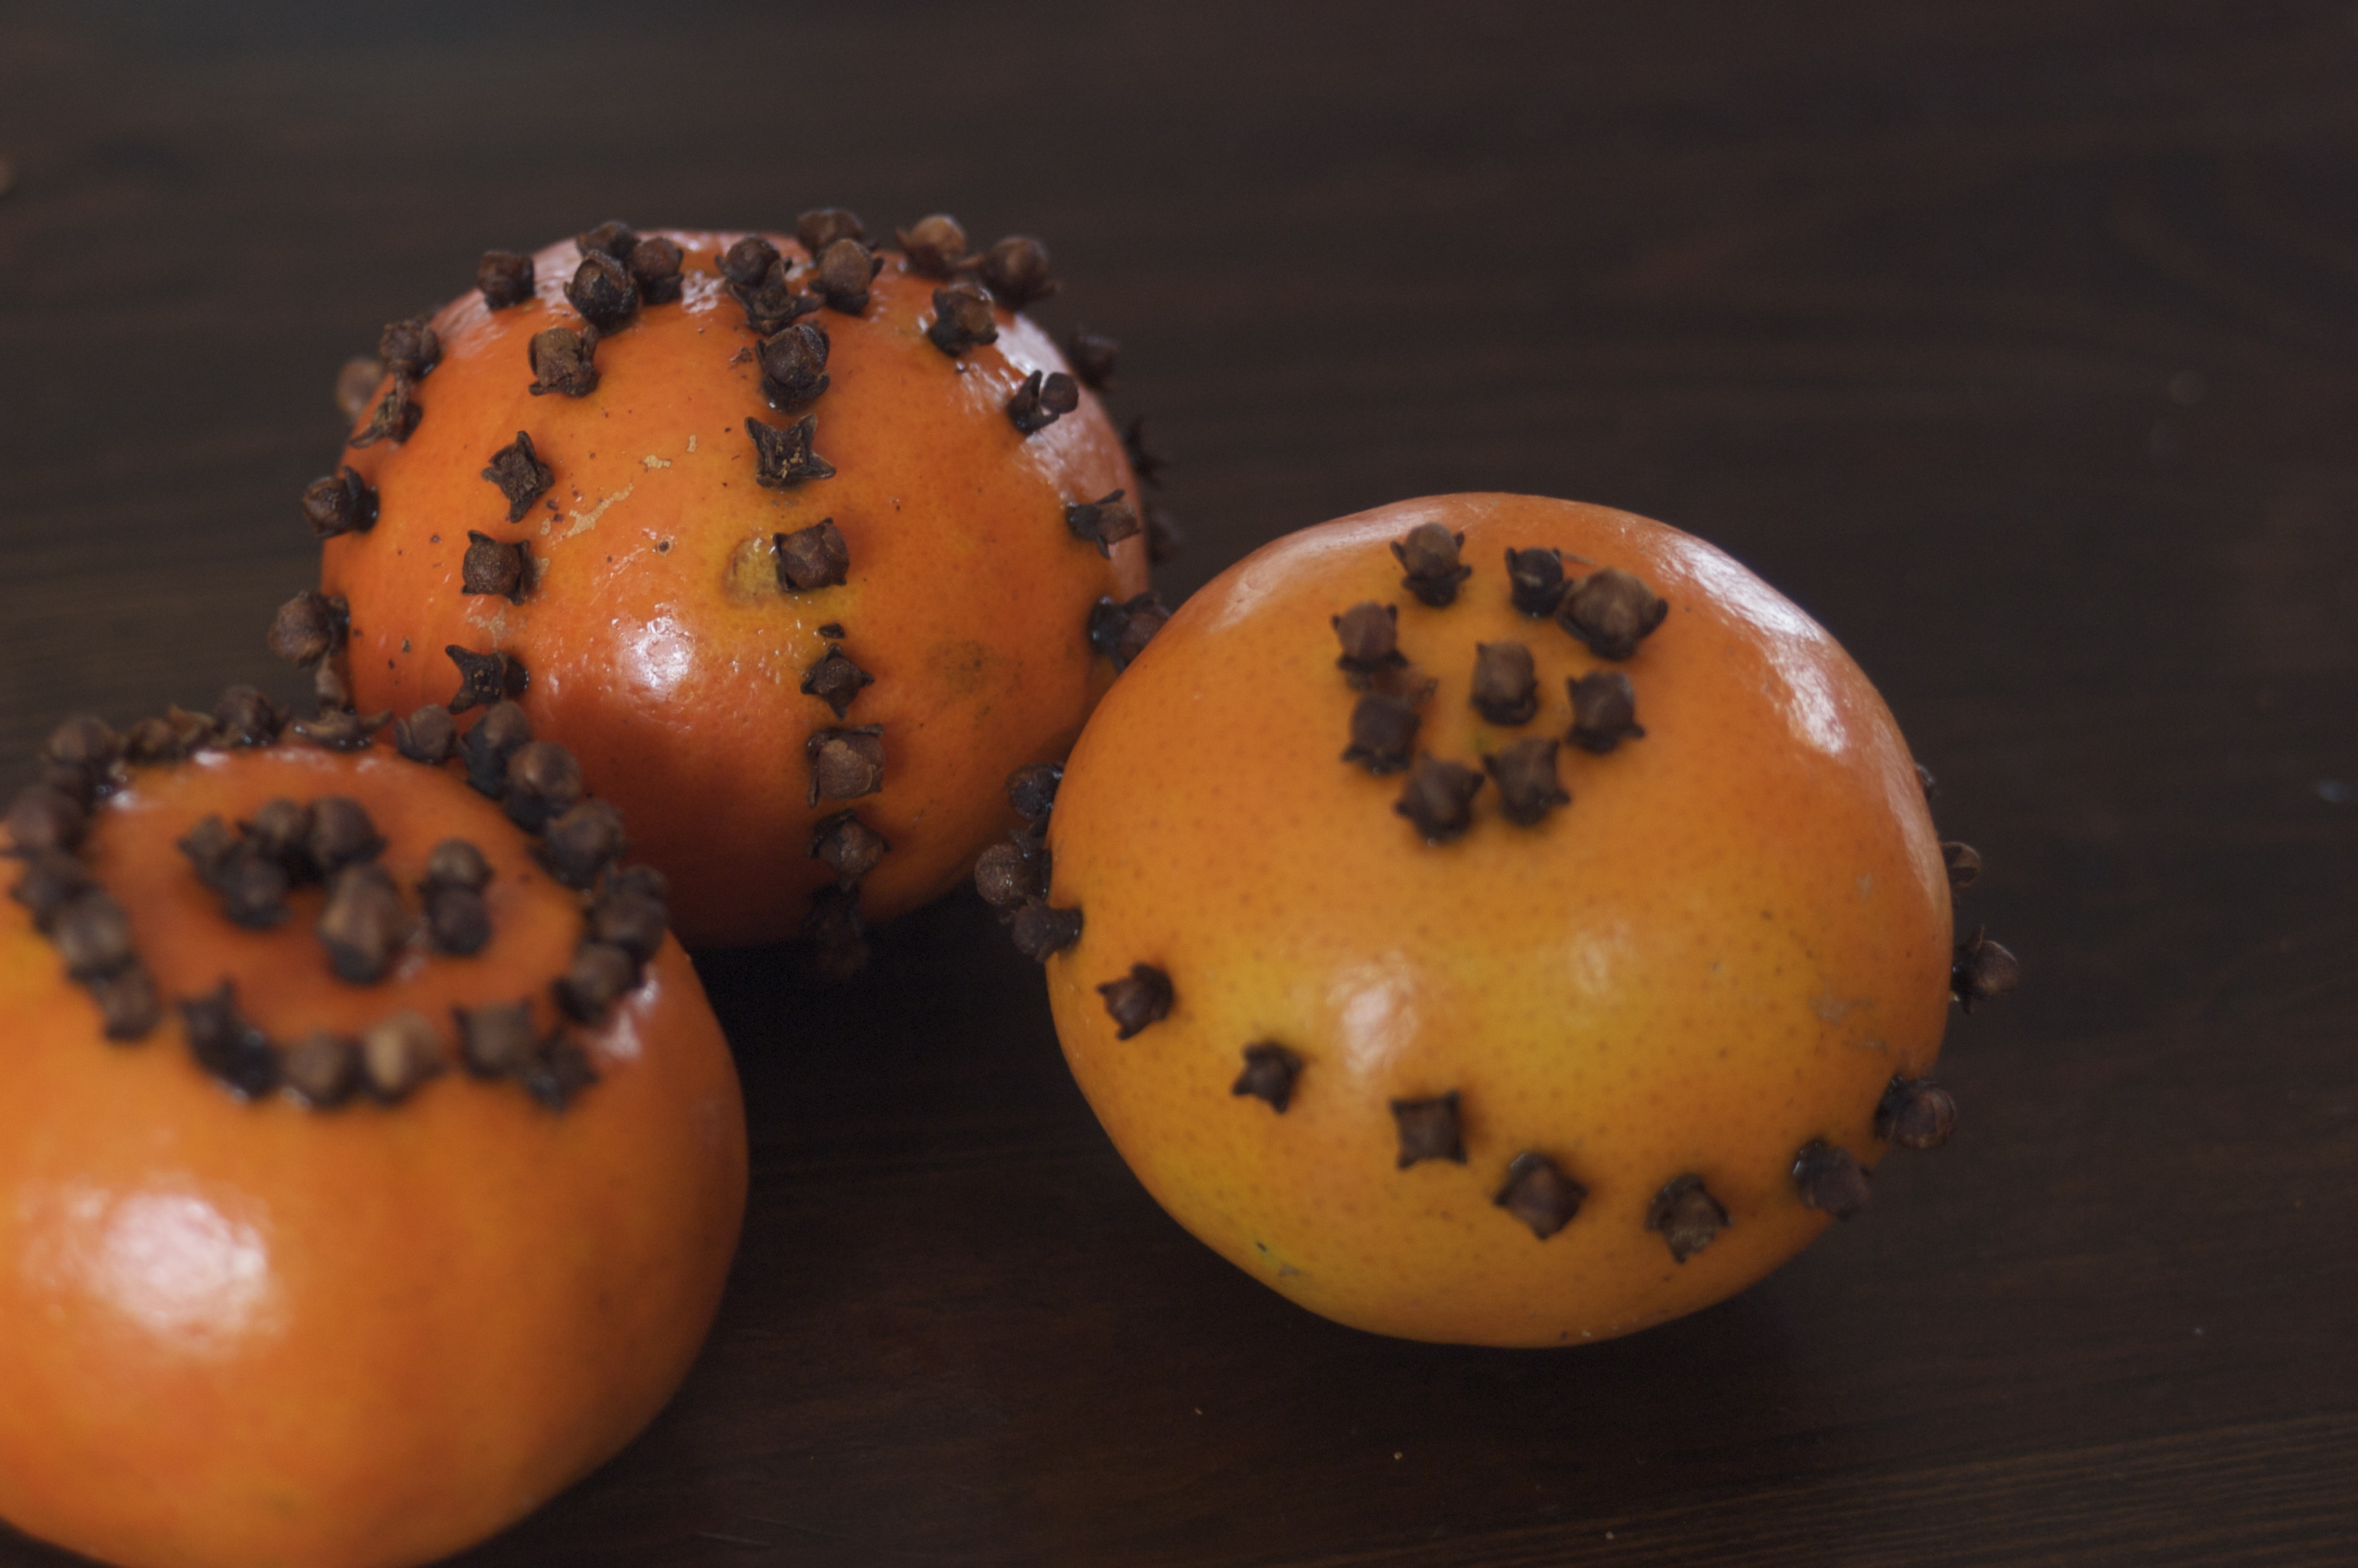
Back to the point of the post. This morning we took a story break to do a simple craft that most of us have done since grade school. Pomanders. It was a great distraction for Lulu (and the rest of us). We had organic tangerines on hand (rather than oranges) and I think the thinner skin was a blessing. We pre-punched holes with a toothpick to make it easier for small fingers to insert the cloves.

DSC_9472

DSC_9494

DSC_9499

Our whole kitchen smells heavenly. Wintery. Solstice-y. Even Christmasy. (And nothing like coughing or fevers or snot, I'll have you know. I'm not sure what snot smells like but there is a lot of that happening over here this day and I am certain it smells nothing like pomanders. Nothing.)

Oh, and one more thing. Sage would like to remind you: don't eat the cloves. Spicy. Really spicy.

DSC_9474

With that, I'm off to the couch. To read another 46 stories.

Be well, friends. We plan to move in that direction too.

xo Rachel


A Little Cheer.

DSC_9354

DSC_9390

DSC_9393

DSC_9401

DSC_9360

There. That feels better. It's a good start anyway.

And since I know you will ask, here is the breakdown on the decorations:

1. The tinsel tree belonged to my lefse making grandma, Katie. She ran a beauty parlor and would display styling product beneath it in the front window during the holidays. It is one of my prize possessions.

2. The sequined ornaments and tree skirt were made by Grandma Lee, whom I introduced to you here and more recently here. She made gads of them for my sister and I and put them in our "hope chests" when we were kids. They are rad and make me want to add sequins to my crafting scene.

3. The village is Sage's obsession. He picks them up at thrift stores and meticulously arranges them each year.

4. The stocking tutorial is here. I planned to stitch the "applique" down this year, but whatever. It can wait.


Thankful.

DSC_4706_2

We leave soon for Thanksgiving celebrations with my family. Before we go, there is still much to be done. Today is a kitchen day, destined for pie baking (by Sage – the latest passionate chef around here – who recently requested no more "pesky mama help" in the kitchen), bread baking (this will keep Lupine and I busy while Sage makes pumpkin magic happen), and some raw cranberry relish.

And we still need to cut out leaves for our gratitude tree! But there is so much gratitude already. I count my blessings daily, but during these long dark days even more so.


~ * ~ * ~ * ~ * ~

Today I am filled with gratitude for…

…Pete returning home from his latest journey and the warm welcome he received from both of our kids. (This papa-love is a new phenomenon for our smaller one.)

…My parents. Their respect of my (different from their) parenting choices means more to me than they can imagine.

…Children who live passionately, think freely, know themselves, and believe in magic.

…Raw milk in my fridge. So fresh it was still warm yesterday.

…The rhythm of the knitting needles in my hands.

…The future.

~ * ~ * ~ * ~ * ~

What are your thankful for?

A Thanksgiving Gratitude Tree.

This is an edited re-post from last winter. I wanted to share it again for the many new folks as well as a reminder for those of you who read it last year. A simple tradition, the Thanksgiving Gratitude Tree transformed our holiday last year.

DSC_8462

In my family, where deer hunting comes before all else, Thanksgiving could easily feel like an afterthought. But this year we gathered together and celebrated with intention and gratitude. It was a sincere celebration of family, love, and appreciation.

DSC_8481 

The new tradition we created this Thanksgiving was a Gratitude Tree. A friend mentioned that she was creating a Thanksgiving Tree on her holiday table this year. She explained the concept and with a little bit of Googling I found dozens of variations on the idea. We jumped on board, and I suspect we'll do it every year.

DSC_8487

The concept is simple: create a "tree" on your holiday table with a branch, ornament stand, or small tree. Provide guests with paper leaves, pens and a simple question: What are your grateful for? Throughout the evening, guests quietly penned the important things in their lives on leaves and suspending them from the tree.

DSC_8495 

After the table was cleared we gathered for a glass of wine and took turns reading the anonymous blessings. Some authors were easy to determine ("I love Sager. I love Sager. I love Sager" or "I am grateful for my wife putting up with my hunting for the past 40 years."), while others were more difficult to determine ("I am grateful for my loving wife and two kids.").

For me it was meaningful to hear my family express with such depth on this special day.

 Thanks, Denise, for the inspiration!

How to Make Paper Lanterns

DSC_9157

DSC_9150

The days here in the north are growing shorted. By dinner time the outdoors are immersed in complete darkness, and when we wake in the morning the sun is still nowhere to be seen. And the days are growing shorter still.

To celebrate the light that shines within each of us (even during these darkest days) the children and I made paper lanterns and carried them out into the darkness for a bedtime walk. The lanterns represent the brightness we bring to the dark, and the positive effect our bright spirits bring.

DSC_9161

The process of making the lanterns is more simple than you might imagine. We loosely interpreted the pattern for Martinmas lanterns from this lovely book (another recommended read) as our jumping off point. I have shared our version of the lanterns below.

Supplies

Watercolor paints

Watercolor paper (ours is approximately 14" x 20", purchased here)

Ruler

Scissors

Pencil

Craft knife

Cutting mat or board

Kite or tissue paper

Glue stick

White glue

5 spring-type clothespins per lantern

Yarn or wire for handle

Hole punch (optional)

Fireproofing spray (optional)

Instructions

1. Create a simple watercolor painting. Allow to dry completely. (You will have enough paper for two lanterns from each piece of paper.)

DSC_9118

2. On the back of your painting carefully mark the following measurements with pencil and a straight edge:

  • Divide the painting in half with a horizontal line. To simplify, you may cut your paper into these two long thin strip now. (Our strips were 7 1/2" tall and almost 20" long)
  • Parallel to your original cut mark two lines: one 1/2 inch down from the top and a second line 2" up from the bottom. These will form the top lip and the bottom of the lantern.
  • Perpendicular to your original line, begin at the left and measure in 1". Mark line. This will be an overlapping piece used to form the lantern during the final steps of the project.
  • From this 1" mark, measure five 3 1/2" panels and mark. These will be the five window panels.
  • Cut off any excess after your last 3 1/2" panel.

3. Score all lines using a straight edge. (This will make folding your lantern easier.) 

DSC_9108

4. Cut tabs for the top and bottom of your lantern by cutting all lines above and below your two long horizontal lines. (Confused? See two photos below for a visual of where you cut.) These tabs will overlap and form the bottom and the top lip of the lantern when you glue the lantern together.

5. With a pencil, draw the shapes you desire for windows on the back of your paper strip. Think simple forms – circles, stars, even rectangular "windows".

6. Use a craft knife (X-acto type) to carefully cut out the windows.

DSC_9141

7. Flip over your painting and admire your work! Add additional details if desired with hole punch or craft knife. I used a small circular hole punch to embellish ours.

DSC_9113

8. Cut kite paper windows the size of your main panels. Glue into place with glue stick and smooth.

DSC_9129

(Note: the next step requires a teeny bit of patience. At least it did for me. The lantern has a propensity to spring open while you are encouraging it to stay closed. Hang tight! You are almost done, and you are smarter than the glue.)

9. Fold your lantern carefully into shape, creasing each scored line firmly. Observe where the flaps overlap on the top, side, and bottom. Apply a thin layer of white glue on each overlapping point, then refold the lantern pressing the glued panels together. (These will be triangles of glue on one end of each flap.) Be consistent with the end you glue (all on the left, for example) so that you can neatly close one flap after another and end up with a firm secure bottom.

10. Use a clothespin at each overlapping point on the top of the lantern to hold the tabs together until the glue is set. Before the glue is all the way dry remove the clothespins. (This way you don't accidentally tear the lantern when you remove the clips). 

DSC_9138

10. Cover the hole in the bottom of your lantern with a scrap of watercolor paper approximately the size of the base of your lantern. Secure with more glue.

11. Punch two holes in the lantern's top rim and string through some wire or wool yarn. Knot yarn securely and add a tea light candle, securing to the bottom with poster putty (if you, like me, lack poster putty gum will work in a pinch, and adds a minty smell to the whole event.) (One thought: for those of you with young children or a concern of you little one holding a paper box with fire inside, battery powered tea lights are a good choice. I believe that the responsibility of holding a lantern with a candle inside is wonderful for a child, but perhaps that should wait until they are 4 or 5.

12. You are done! Now just wait for nightfall and take your lantern with you to spread a bit of light into the darkness.

DSC_9166

DSC_9148